How to use Shiflo
Setting up a venue and running it week to week.
Set up your roles
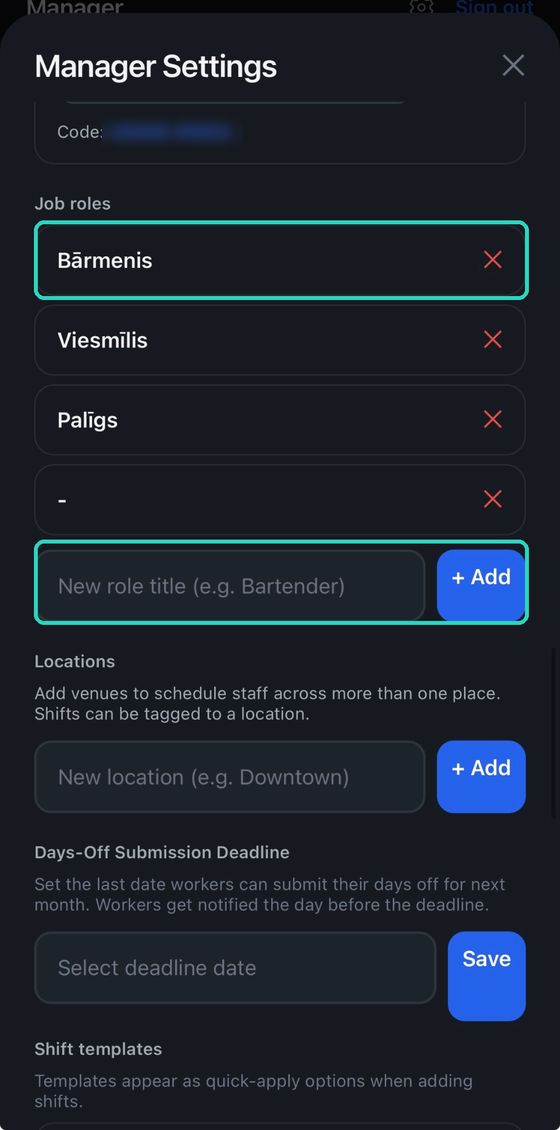
Open Manager → the gear icon to reach Manager Settings. Start with the jobs people actually do in your venue — bartender, waiter, kitchen porter.
- Type the role name and tap + Add.
- Repeat for each role.
- Under Locations, add a second venue if you run more than one. Shifts can then be tagged to a place.
Save your usual shifts as templates
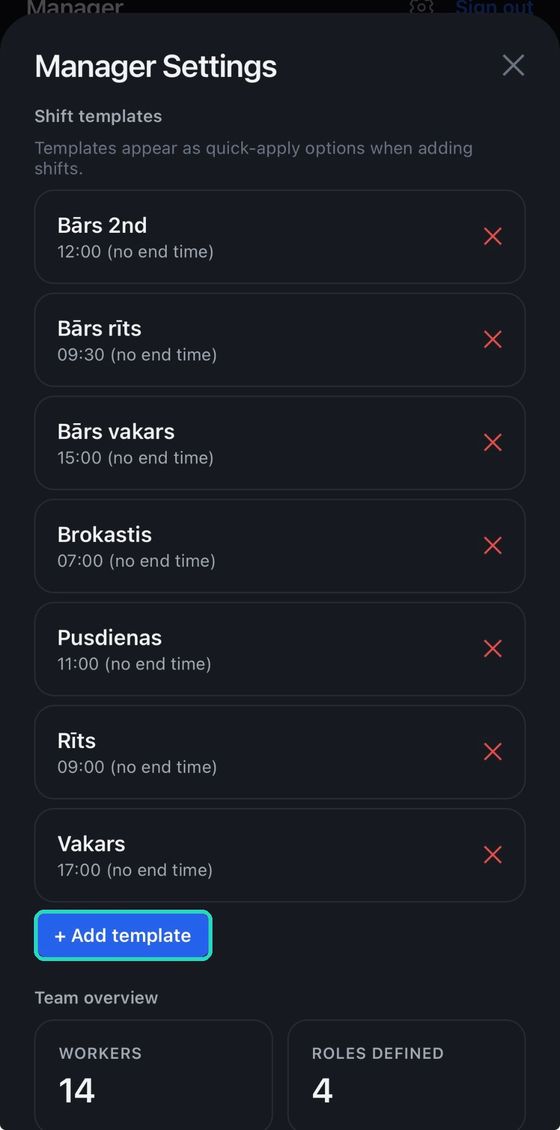
If your mornings always start at 09:00, save it once. Templates then appear as one-tap options when you are filling the rota.
- Scroll to Shift templates.
- Tap + Add template and give it a name and a start time.
Most venues end up with four or five — breakfast, lunch, evening, late.
Get your team in
Every workspace has a join code. Staff enter it when they sign up and they land straight in your team.
- Find the code in Manager Settings, under the workspace name.
- Send it to your staff however you normally talk to them.
- They download Shiflo, create an account, and enter the code.

Build the rota
The Schedule tab opens a grid: your team down the side, the month across the top. Tap any cell to put someone on that day.
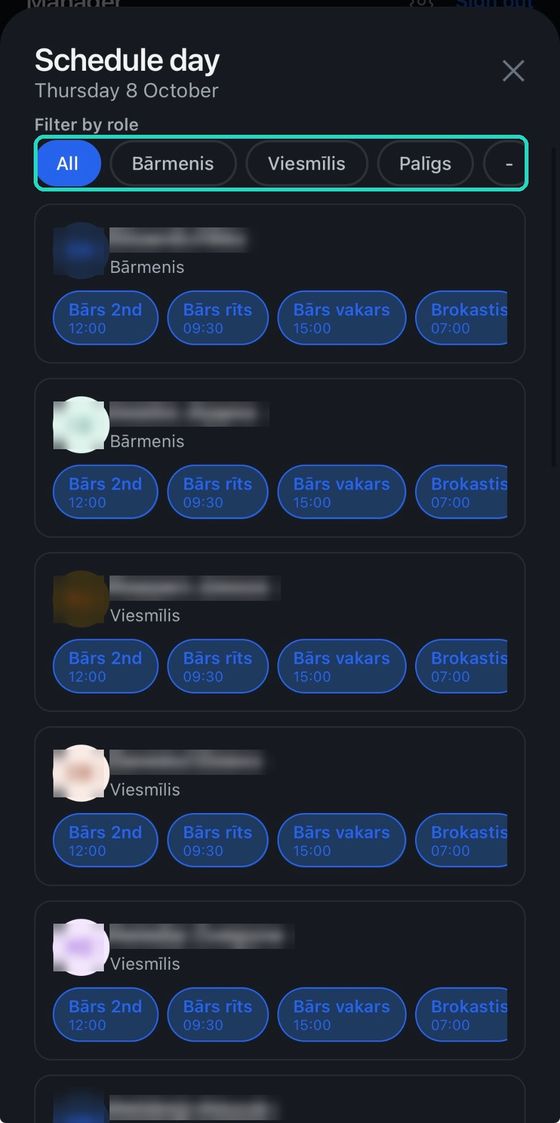
- Tap an empty cell. The day sheet opens with everyone who could work it.
- Filter by role at the top narrows it to bartenders, waiters and so on.
- Tap one of that person’s shift templates to place it. Tap a filled cell again to change or remove it.
The colours warn you before a rota becomes a problem: amber is five days in a row, red is six or more. Days off and approved holiday show as their own marks, so you do not schedule over them.
Let it build the month for you
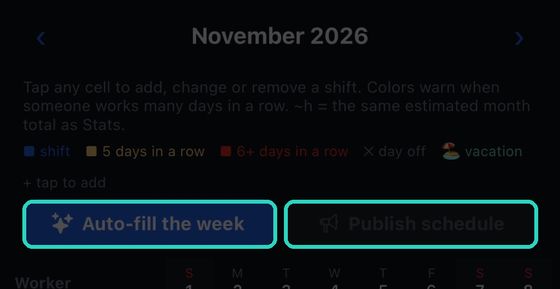
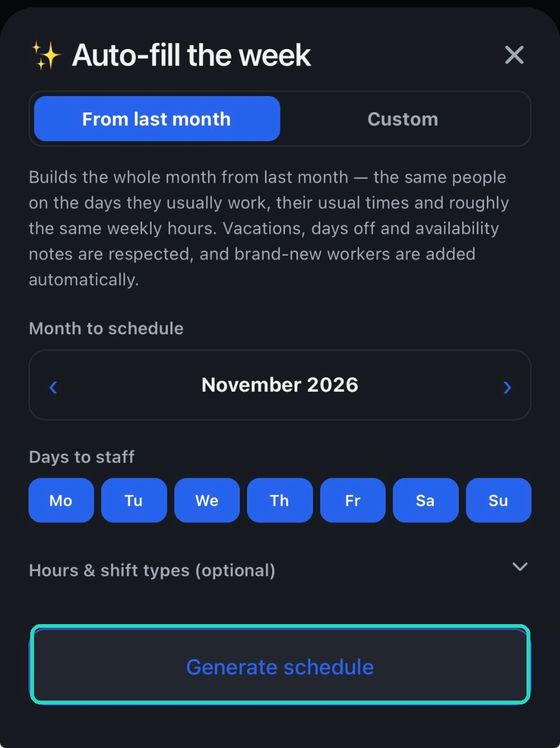
Auto-fill the week takes last month and rebuilds it: the same people on the days they usually work, their usual times, roughly the same weekly hours.
- Tap Auto-fill the week.
- Pick the month, and which weekdays you actually open.
- Tap Generate schedule, then edit whatever it got wrong.
It respects approved holiday, submitted days off and availability notes, and adds anyone who has joined since. Nothing is announced yet — it is a draft until you publish.
Approve what needs approving
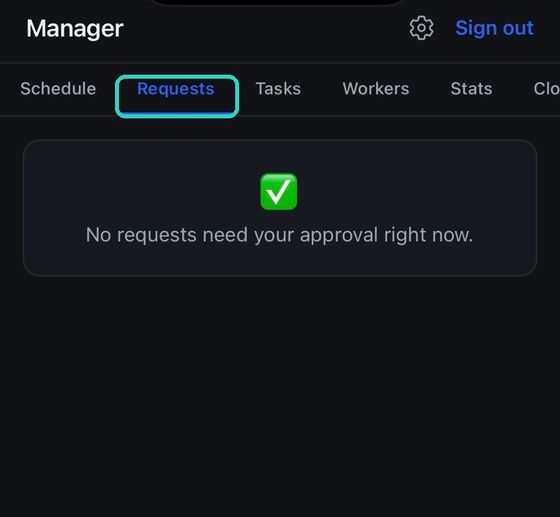
The Requests tab is the one to check daily. Everything waiting on you lands here:
- Shift swaps — two people have agreed; you confirm it.
- Holiday requests — approve or decline.
- Forgot-to-clock-out — someone is asking you to fill in hours they worked. Approving writes the hours straight into their record.
An empty tab means nothing is waiting.
Your team
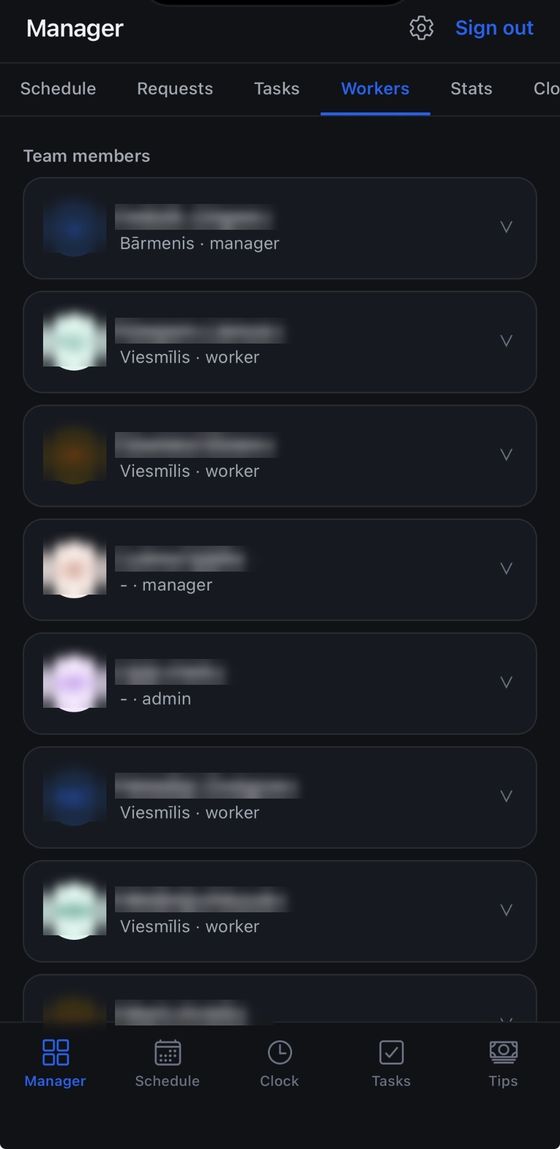
Workers lists everyone in the workspace. Tap a person to open them up.
- Set their role, and a second role if they cover two jobs.
- Make someone a manager or admin.
- Take someone out of the schedule when they leave, without deleting their hours.
Staffing targets
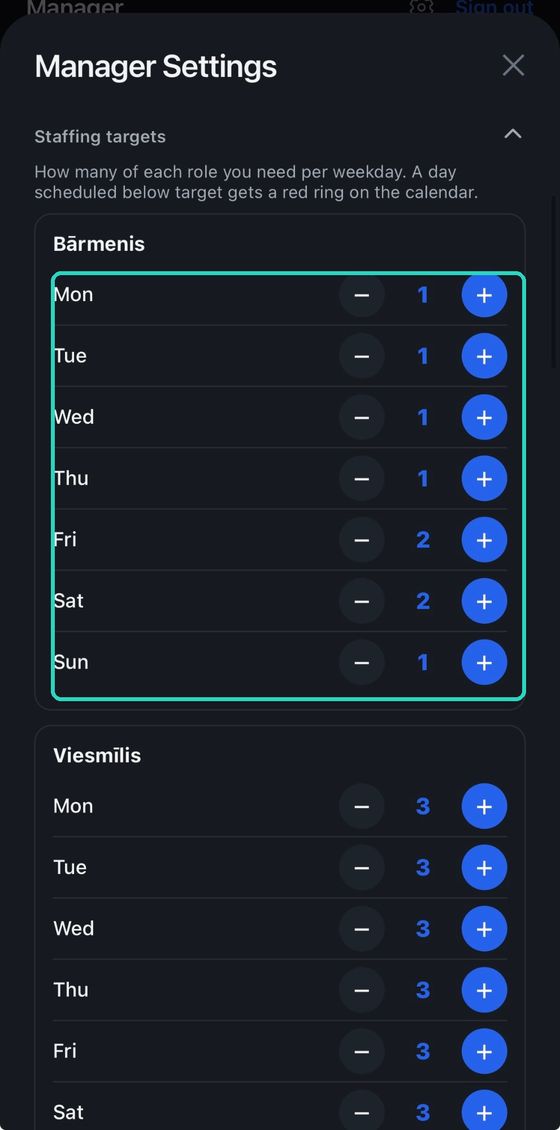
Tell Shiflo how many of each role you need on each weekday, and it will flag any day you have under-booked.
- Manager Settings → Staffing targets, then tap the header to open it.
- For each role, set a number per weekday — two bartenders on Friday, one on Tuesday.
Any upcoming day scheduled below target gets a red ring on the calendar, so a thin Saturday is obvious before it arrives. Past days are left alone.
Tasks
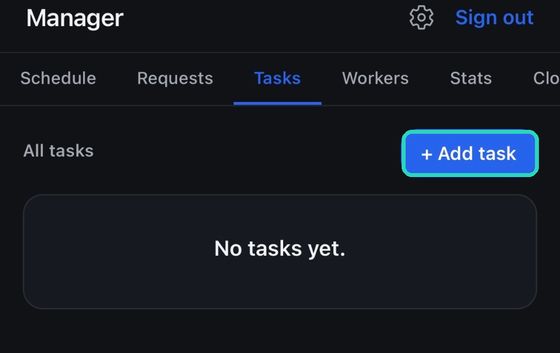
Assign jobs to one person or to the whole team from the Tasks tab. They get a notification and can tick it off themselves.
Hours, and getting them to payroll
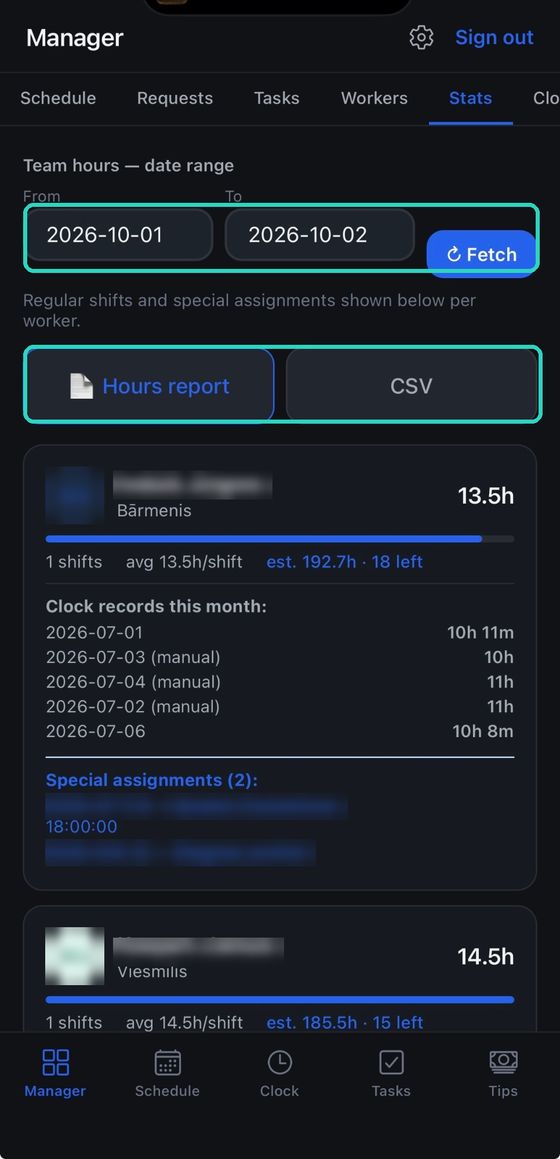
Stats is the payroll tab. Pick a date range, tap Fetch, and every figure below follows it.
- Set From and To, then Fetch.
- Hours report gives a clean printable summary — open it and print to PDF.
- CSV gives the full spreadsheet: a schedule grid, a summary, and a per-person breakdown.
Both list only the people who actually worked the period, and anyone with two roles has their hours split per role so the numbers reconcile either way.
Check the clock log
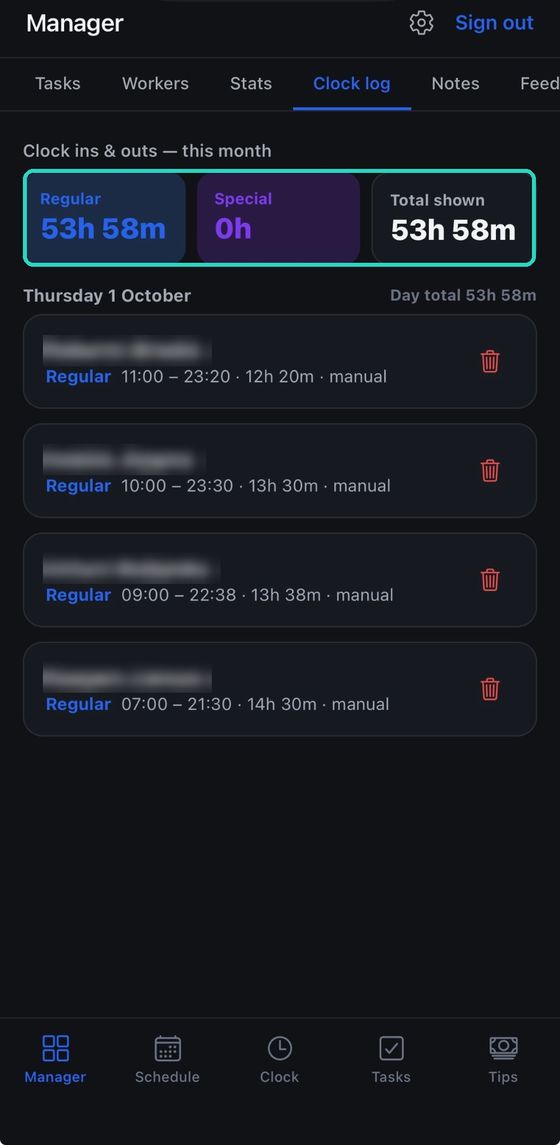
Clock log is every clock-in and clock-out for the period, newest first, with the regular and special totals at the top. Entries added by hand are marked manual.
Spot something wrong? Delete the record here and ask the person to send it again, or fix it yourself.
Notes and feedback
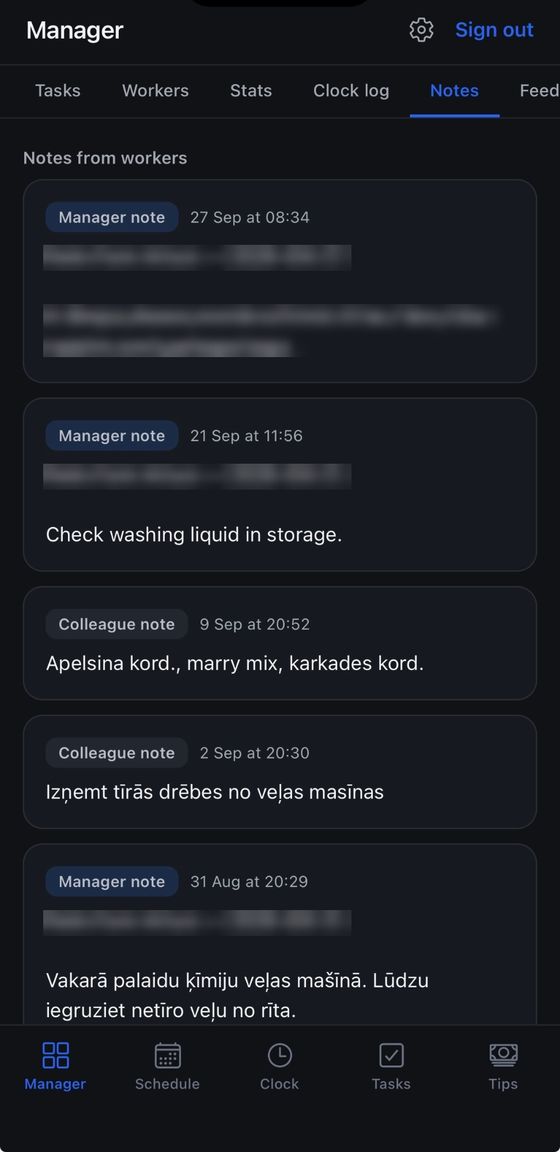
Two separate things, worth knowing apart:
- Notes — handover messages. A manager note was sent to you; a colleague note went to whoever works the next day.
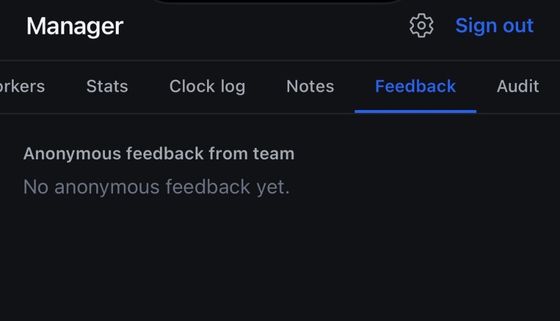
- Feedback — anonymous. Shiflo does not record who sent it, so you genuinely cannot tell, and neither can we.
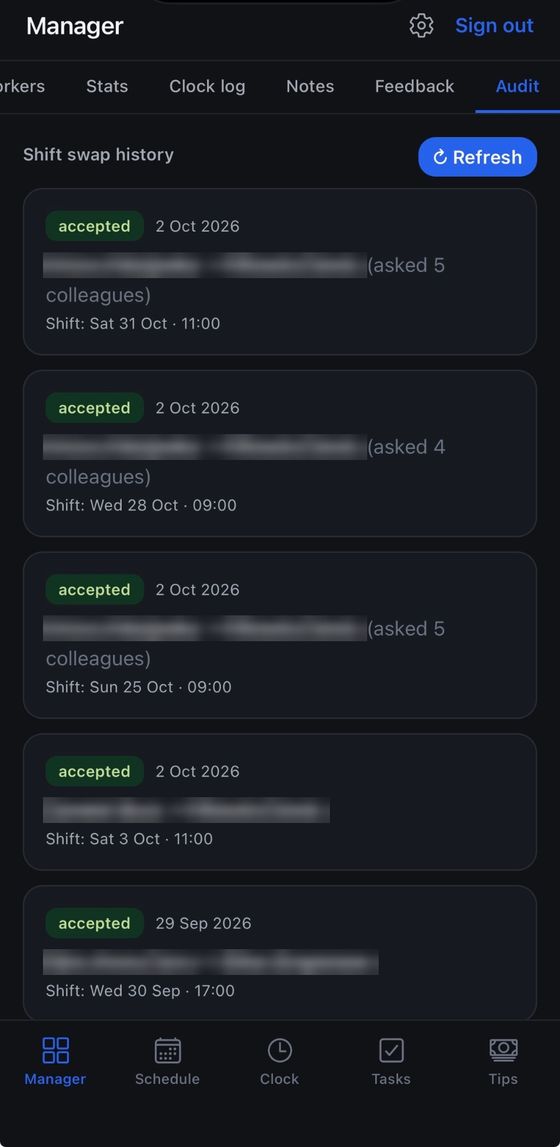
Swap history
The Audit tab keeps every shift swap that has happened — who handed it over, who took it, which shift, and when. Useful when someone insists they were never on the rota.
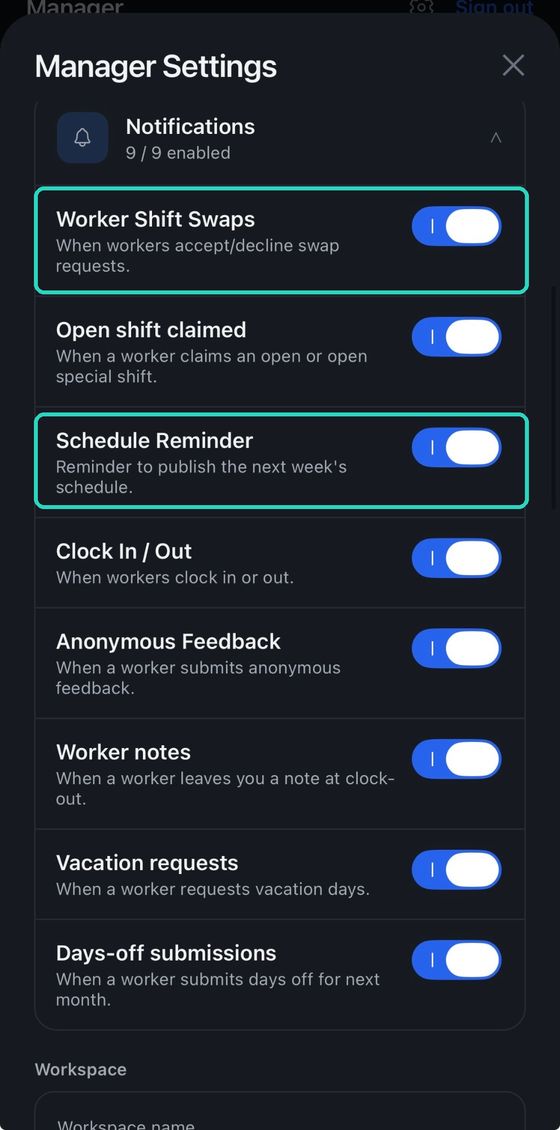
What you get told about
Managers have their own set of notifications, under Manager Settings → Notifications. All nine are on by default; switch off whatever becomes noise.
- Worker shift swaps — when staff accept or decline a swap.
- Open shift claimed — when someone takes an open shift.
- Schedule reminder — a nudge to publish next week.
- Clock in / out — every clock event. The first one most people turn off.
- Anonymous feedback, worker notes, vacation requests and days-off submissions.
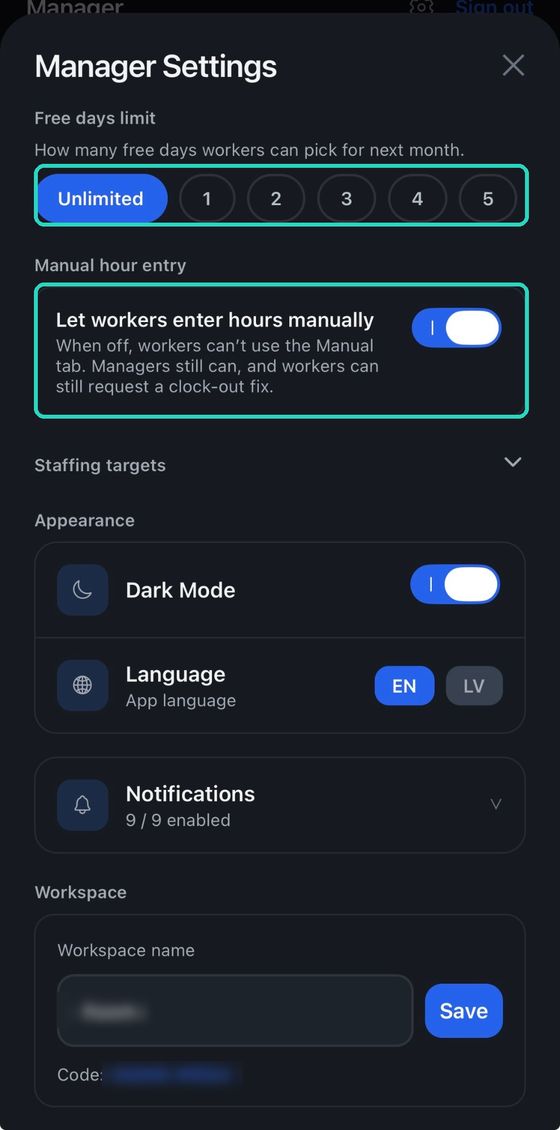
Two settings worth a thought
- Free days limit — how many days off each person may request for next month. Unlimited by default; cap it if requests get unrealistic.
- Manual hour entry — leave it on and staff can type their own hours for today or yesterday. Switch it off and only you can, though they can still send a forgot-to-clock-out request for you to approve.
- Days-off deadline — the last date staff can submit for next month. They get a reminder the day before.
Staff asking how it works? Send them the staff guide.
Stuck on something? Email info@shiflo.app.